
How to Make Cold Brew Coffee at Home (No Maker Needed)
You want cold brew. So you brew a hot pot, pour it over ice, and get a watery cup that bites back. That is not cold brew. That is iced coffee. Learning how to make cold brew coffee at home takes one jar, one filter, and a little patience, and the payoff is a smooth batch waiting in your fridge all week. Give me five minutes. By the end you will know the ratio, grind, and steep time for your first batch tonight.
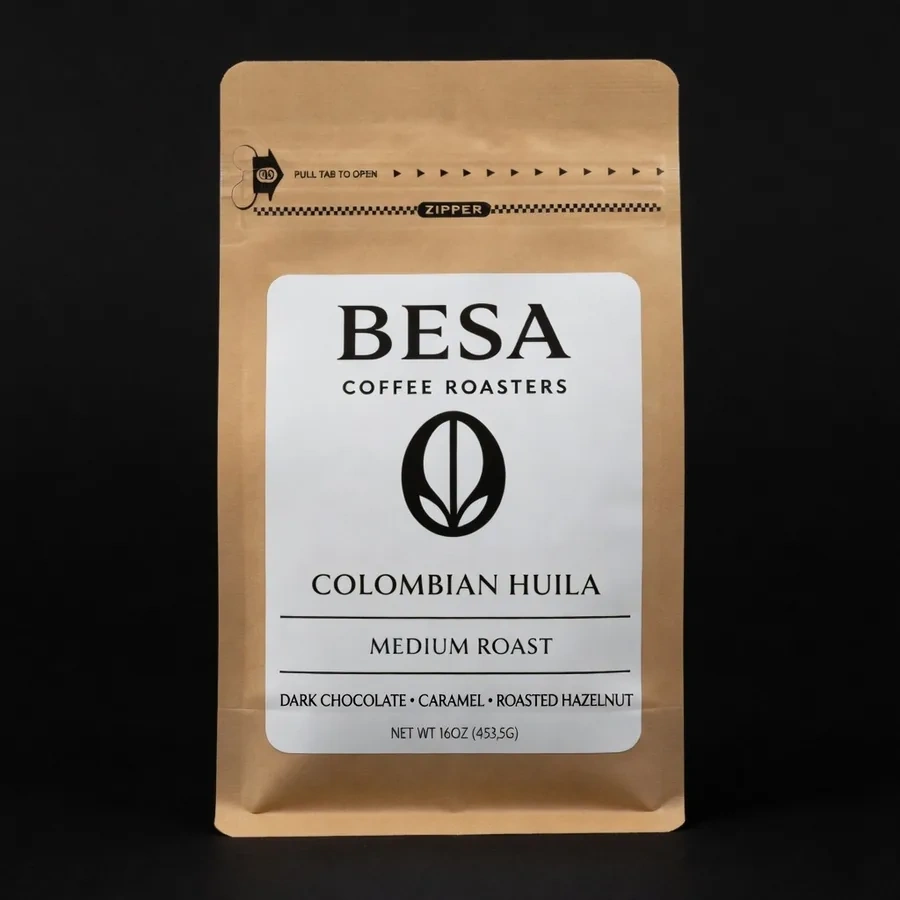
Roasted only after you order. Both of our coffees are 24 per full pound, and most roasters sell 12 oz bags. Your first order is covered by our love it or your money back guarantee.
The short answer: You do not need a cold brew maker. Put 100 grams of coarse ground coffee in a large jar, add 800 grams of cold water, a 1 to 8 ratio, and stir until no dry pockets are left. Cover it and steep 12 to 18 hours, longer in the fridge. Filter it, then serve over ice. That gives you smooth, ready to drink cold brew with no special gear.
Cold brew is not iced coffee
The two drinks start in opposite places. Iced coffee is brewed hot, in minutes, then cooled or poured over ice. It keeps the bright, sharp taste of hot coffee, and the ice thins it as it melts.
Cold brew never sees heat. You steep coarse grounds in cold or room temperature water for hours, then filter them out. Time does the work that heat does for hot coffee. Because cold water pulls flavor out more slowly and more gently, the cup comes out smoother and less sharp, with more body.
That is also why cold brew uses more coffee than a hot pot. Cold water extracts less efficiently, so you make up for it with dose and time.
What you need, and what you do not
You do not need a cold brew maker. If a product promises to sell you the secret, the secret is a jar.
- A large jar or pitcher. It just needs to hold more than 3 cups of water. A mason jar or a French press both work.
- Coarse ground coffee and cold, filtered water. The brew is mostly water, so a bad water taste has nowhere to hide.
- A spoon and a filter. A strainer gets you most of the way. A paper filter or clean cloth gets you a cleaner finish.
- Time. About 12 to 18 hours, almost all of it hands off.
If you use a French press, do not push the plunger down while it steeps. Plunge slowly at the end.
How to make cold brew coffee at home, step by step
This ready to drink version pours straight over ice, with no math at serving time.
- Grind coarse. Think coarse sea salt, not fine sand. Our coffee grind size chart puts cold brew at the extra coarse end for a reason: fine grounds turn muddy, clog your filter, and taste harsh after a long steep.
- Weigh or measure 100 grams of coffee into your jar. No scale? Use the ratio below and keep your scoop consistent from batch to batch.
- Add 800 grams of cold or room temperature water. That is a 1 to 8 ratio by weight. Pour slowly so you wet the grounds as you go.
- Stir until no dry pockets are left. Dry grounds do not extract. One gentle stir at the start is enough. Then stop touching it.
- Cover and steep 12 to 18 hours. On the counter, start near 12 hours. In the fridge, go longer, near 16 to 18 hours, because colder water extracts more slowly.
- Filter twice if you want it clean. Pour through a strainer first to catch the bulk of the grounds, then through a paper filter for the clean finish. Do not squeeze or press the grounds. That pushes sediment and bitter notes into your brew.
- Chill, then serve over fresh ice. Taste it black first. Then adjust with water or milk. If you sweeten it, use a liquid sweetener. Sugar grains do not dissolve well in cold coffee.
Ratio and steep time: pick your strength
You have two choices. Make it ready to drink, or make a concentrate and dilute each glass. Concentrate takes less fridge space and lets each person set their own strength.
| Style | Ratio | Steep | Serve |
|---|---|---|---|
| Ready to drink | 1 to 8 | 12 to 18 hours | Straight over ice |
| Concentrate | 1 to 4 to 1 to 5 | 12 to 18 hours | Cut 1 to 1 with water or milk |
One warning: longer is not always better. Past the sweet spot, a long steep can turn harsh. If a batch tastes rough, shorten the next steep first.
Store what is left sealed in the fridge, away from strong smelling foods. Concentrate can keep for up to about two weeks, but it tastes best in the first week. Make a batch you will finish, not a giant one you will watch fade. Our freshness test guide shows that same fade in whole beans.
Which bean should you use first?
Start with a medium roast. Medium roasts are the easy first batch because cold brewing suits the chocolate and caramel side of coffee, and a balanced bean forgives small mistakes in time and ratio.
That is why our Colombian Huila is my pick for your first jar. It is a medium roast, single origin, with dark chocolate, caramel, and hazelnut notes. In a long cold steep, that profile stays smooth and sweet instead of turning thin.
Want a brighter second batch? Try our Ethiopian Yirgacheffe. It is a light-medium roast, so its cold brew reads lighter and more tea-like. Our Ethiopian vs Colombian guide breaks the two beans down side by side.
Either way, grind fresh if you can. Pre-ground coffee loses flavor to air, and a long steep gives stale notes nowhere to hide.
The 5 point cold brew checklist
Run this list when a batch misses. Almost every bad jar traces back to one of these five.
- Bitter or harsh? Grind coarser, steep for less time, or check that you did not drink concentrate straight. Dilute it 1 to 1 and taste again before you judge the batch.
- Weak or watery? Use more coffee, steep a little longer, or try a touch finer grind. Move one lever, not all three.
- Muddy or gritty? Your grind was too fine or your filter let fines through. Go coarser and add the second, paper filter pass.
- Sour or thin? The brew is under-extracted. Extend the steep, or use a little more coffee on the next batch. If you brewed a light roast, some brightness is the bean itself, not a mistake.
- Flat or stale? Check your beans first, then your storage. Old beans make flat cold brew no matter how good your ratio is, and an unsealed container picks up fridge flavors fast.
Cold brew questions, answered
What is the best ratio for cold brew coffee at home?
Start at 1 to 8 by weight for a ready to drink brew: 100 grams of coffee to 800 grams of water. For a concentrate you dilute later, use 1 to 4 or 1 to 5, then cut it about one part concentrate to one part water or milk.
How long should cold brew steep?
About 12 to 18 hours. At room temperature, 12 hours is a good first batch. In the fridge the water is colder and extraction runs slower, so aim for 16 to 18 hours. Longer is not always better, and a very long steep can turn harsh.
Do I need a cold brew maker to make cold brew at home?
No. A large mason jar or pitcher, a spoon, and a way to filter are enough. A French press also works. Just do not push the plunger down while the coffee is steeping.
What grind should I use for cold brew?
Coarse, like coarse sea salt. Cold brew sits in water for hours, so a fine grind is not needed. Fine grounds make the brew muddy, slow to filter, and more likely to taste harsh.
How long does homemade cold brew last in the fridge?
Keep filtered cold brew in a clean, sealed container in the fridge, away from strong smelling foods. Concentrate can keep for up to about two weeks, but the flavor is best in the first week. If it smells or tastes off, pour it out.
Why does my cold brew taste bitter or weak?
Bitter usually means the grind was too fine, the steep ran too long, or you drank concentrate without diluting it. Weak usually means too little coffee, too short a steep, or a grind that was too coarse. Change one thing on the next batch, not all three.
Make tonight’s jar the good one.
You now know the ratio, the grind, and the steep. The last piece is fresh beans. Our Colombian Huila is a medium roast built for a smooth first cold brew, and our Ethiopian Yirgacheffe gives you a brighter second batch. Both are single origin, and both are roasted only after you order in Houston, Texas.